Male beauty comes in all shapes, sizes and colors.
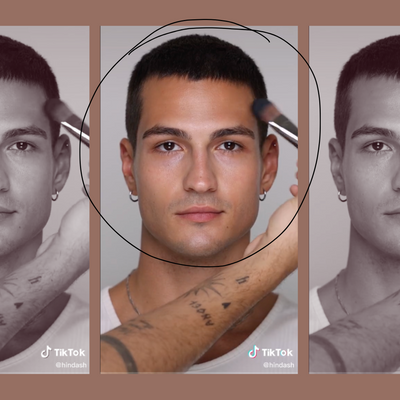
SIIIIIKE. Men’s beauty still isn’t as inclusive as women’s has become. Sure, there are plus-sized men’s models and a move towards more diversity on the runways. But it’s still not the norm. For men, it’s still chiseled faces and bodies that are the industry standard.
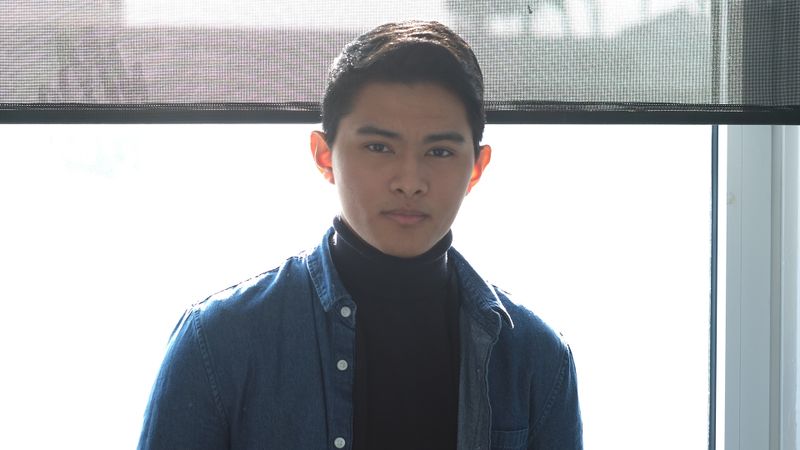
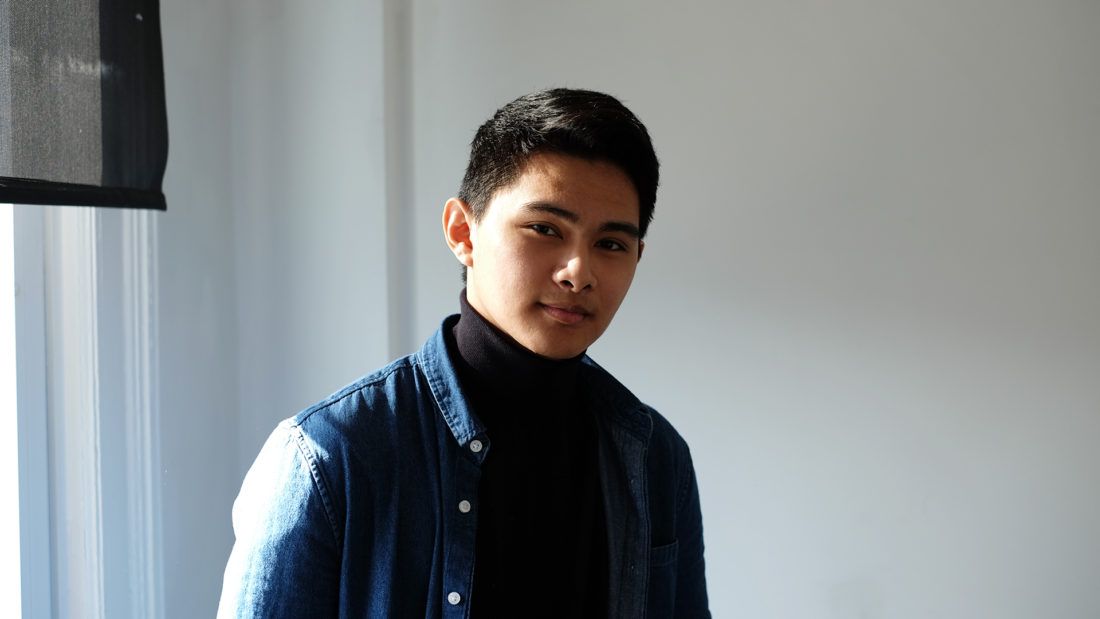
So what’s a guy like me, a 19-year old who’s still becoming a man, to do when he wants to get sharp edges on his face? What I’ve been doing is photoshopping TF out of my photos for Instagram. I’ve been photographing for years and would say that the craft is definitely about having the eye for detail and the skills to play with curves and tones. IMHO, a perfect photograph is 70% composition and 30% post-processing.
As a guy who loves to be in front and behind of the camera, I’ve been interested with fashion photography and portraits. I’ve worked with friends and models who would sometimes request to enhance their looks. Maybe I’ll remove a pimple or two using a Spot Healing brush on Photoshop or use a Clone Stamp tool to remove their eye bags. I might have zero knowledge on makeup but I’m a pro in fixing your eyebrows to contouring your face in Photoshop.
Editing photos became essential to me in high school. It was 44-pounds ago that I first started learning the essentials of Photoshop. I needed to submit a photo for our yearbook and there was definitely no way I was going to allow them to publish that. I tried using the Burning tool to add shadows on my round cheeks, but failed. There were no cheekbones found in my round, cherub-like face, nor was there a jawline to define. I was dying for puberty to hit me like a bolt of lightning. After years of patients, my baby fat melted away and suddenly, I finally have visible cheekbones and a defined jawline.
But they’re still not defined enough that it’s obvious in my photos. Throughout the years of photographing male models, I was struck by how many bring a makeup kit with them before shoots. They’re savvy, as they know that this will make their photos look that much better. In addition, it saves me loads of time to post-process their pictures.
So if the dudes I’m photographing use it, many of them professional models, why shouldn’t I? I’m not sure what my girlfriend would say, as I haven’t consulted her, but I finally got around to giving it a try.
Contouring 101
For this process, I used the Honest Contour + Highlight Kit. There are plenty of other brands like NARS, MAC, Tarte, you name it. But I felt this one was great because the steps are super easy. On the back of the kit, there’s an entire guide that shows you how to do this step by step.
Step 1
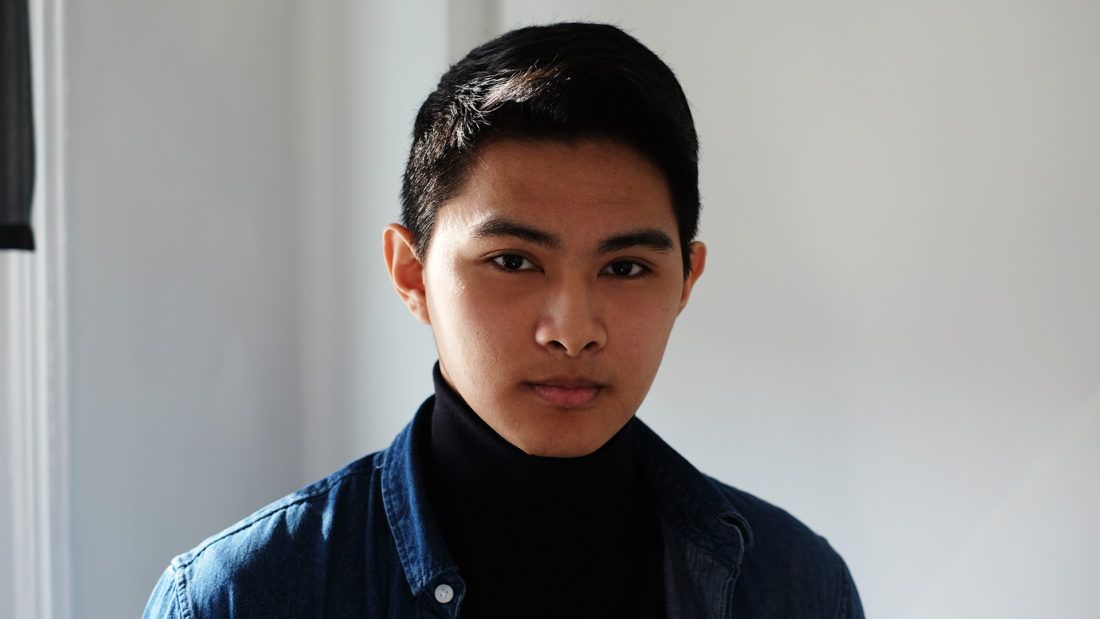
The first step I used was to wash my hands and face. Might not be obvious to everyone, but you have so much bacteria on them that smearing it all over your face is a definite no-no.
Step 2
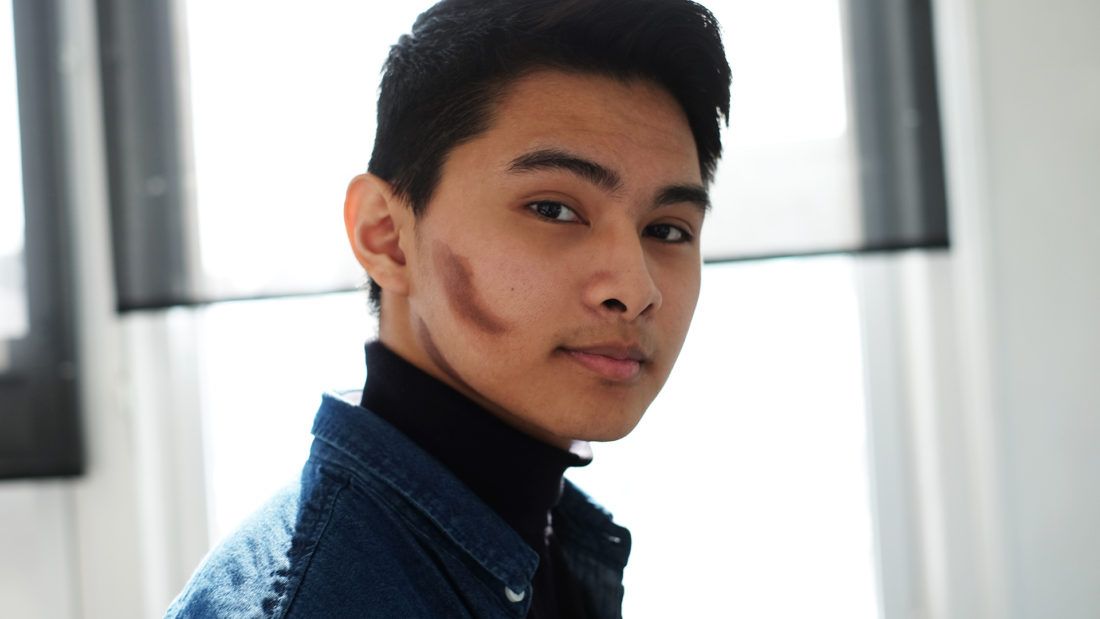
I used two different fingers to apply the medium and dark contour shades onto the hollows of my cheekbones, jawlines, and sides of nose to add depth. This may seem crazy, but you’ll definitely understand why. It adds a shadow and from far away, it makes you get that chiseled look.
Step 3
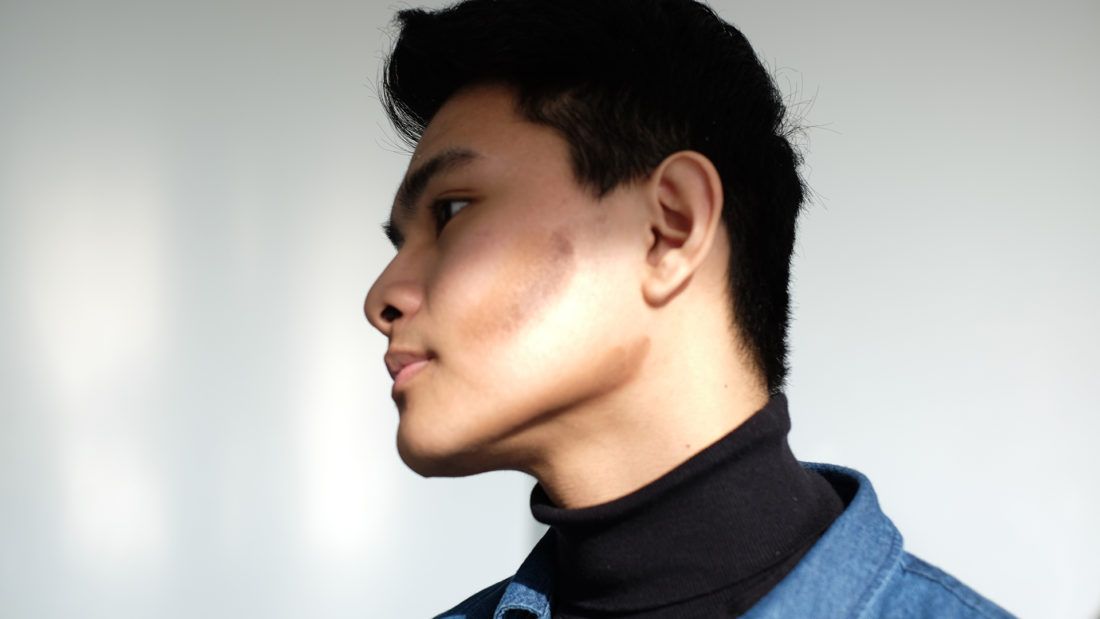
Blend away. Use another finger to blend until it’s not so obvious and is totally natural with your own skin tone.
Step 4
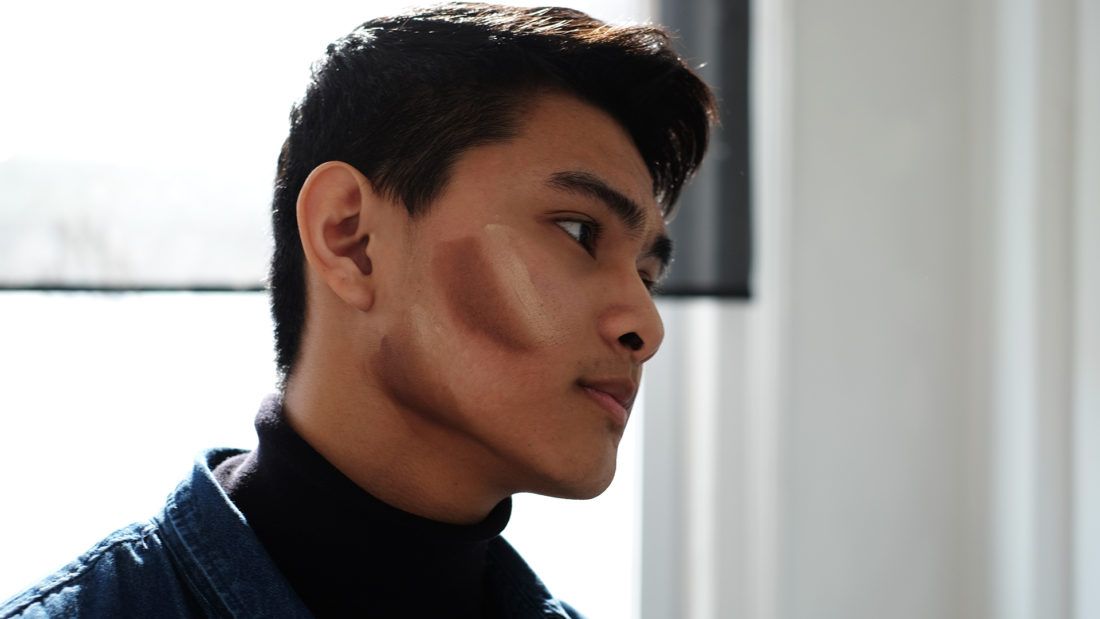
I swept the highlighter into my cheekbones, bridge of nose, cupid’s bow and brow bone. This allows the light to hit you in all the right places.
Step 5
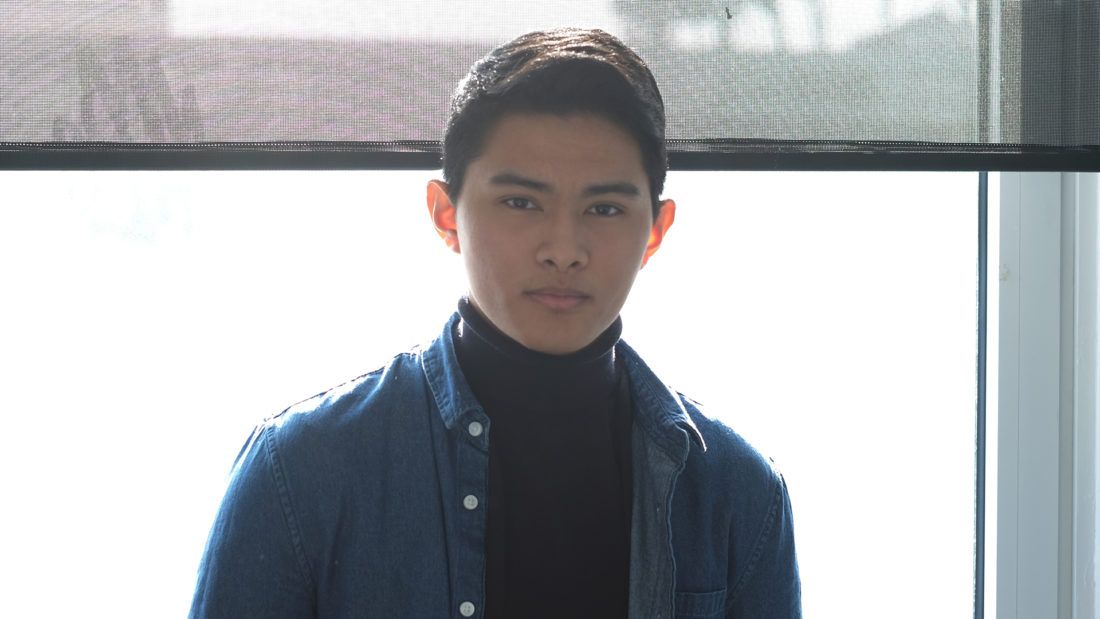
Blend the two colors together lightly. Using your fingers you can swab back and forth to make it look flawless and natural. Look at your new jawline and cheekbones.
Final verdict
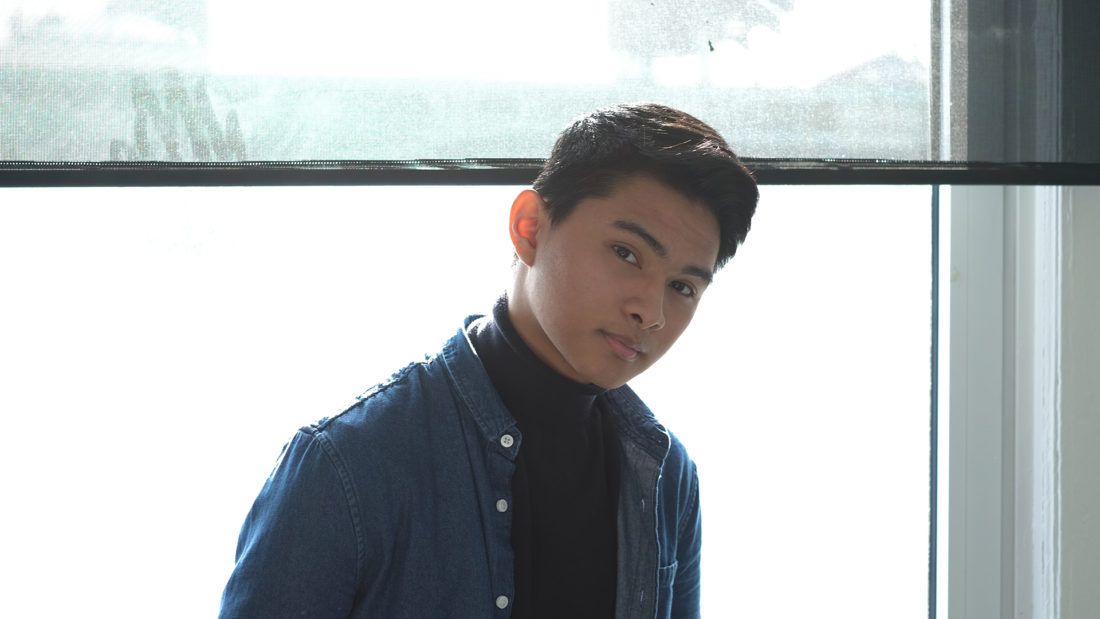
Okay, that was was easy to apply. Easier than I even imagined. The result looked awesome! My face became more chiseled and I kind of lost some of my baby face. It definitely looked good on-camera and from a distance. But since I was not able to exfoliate prior to using it, a closer look showed dry patchiness of my skin, something I would not be comfortable wearing out.
When I tried doing it again, I used a Cetaphil moisturizer and the result looked natural. The moisturizer was sort of a primer, something that holds the makeup together like a glue. I must admit I did not like the highlighter because it looked too glittery. For me, I’m still new to makeup, so anything sparkly is definitely something I would never use. I know that there are guys out there who are looking for that and can rock it like no other. But for me, I’m all about subtlety.
All in all, I think I’d use this kit only when taking photographs. Personally, I will only use this if I have a shoot to do as I’m not really into makeup on the daily. But it is definitely a contouring kit go-to for anyone who wants to show off those cheekbones and jawline!
Get your own chiseled look with this Honest Contour + Highlight Kit, $38. Buy it here.

