Don’t be intimidated by DIY, guys. You’re only a few steps away from a celebrity-grade manicure in a matter of minutes — without a professional on payroll.
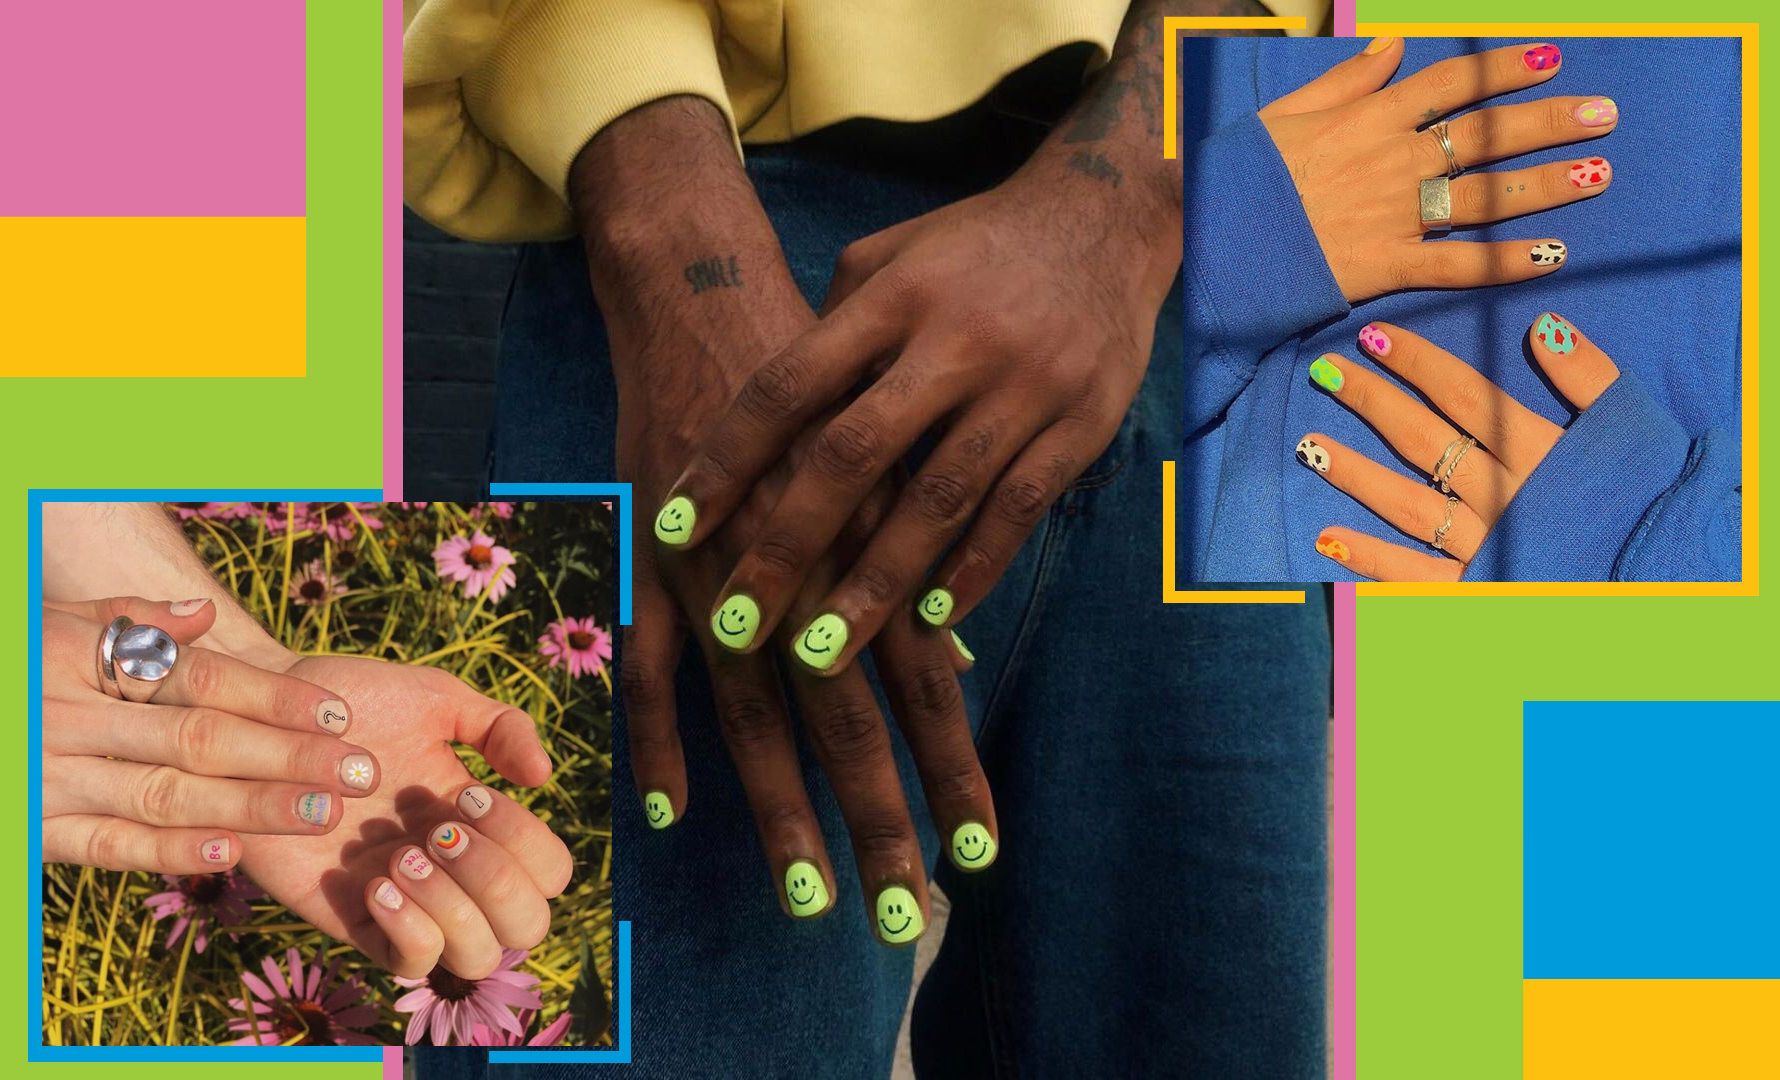
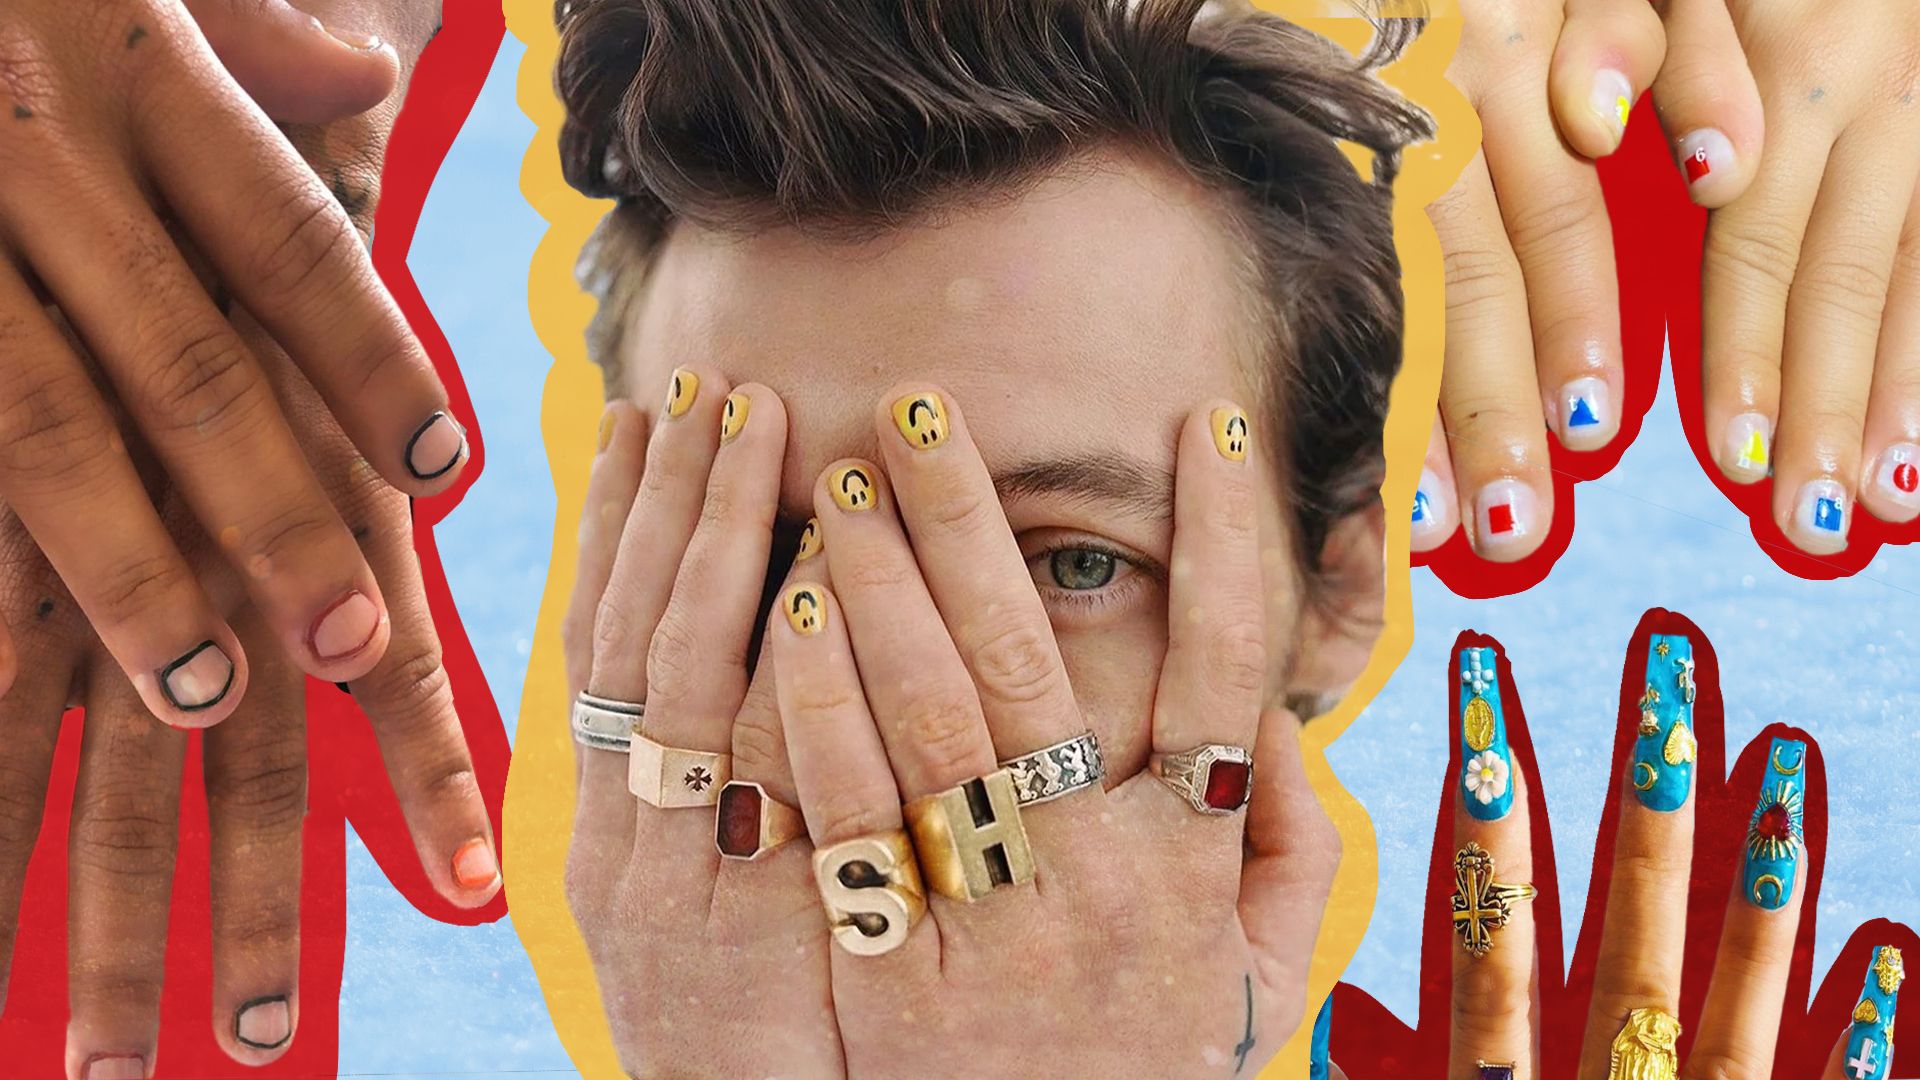
It appears that guy’s nail polish paint was once acceptable in just two colors: clear (that is, “invisible”) and punk-rock black (hats, Ozzie). But fashion’s favorite men are now embracing colored manicures with a vengeance – and normalizing it for the masses. This, thanks to humans like Harry Styles and his gradient pastels fingers to A$AP Rocky’s trademark smileys, J-Hope’s own Chicken Noodle Soup art, Anwar Hadid/Dua Lipa’s iconic couple co-ordination, to our fave, Bad Bunny.
SEE ALSO: 5 new brands are attempting to redefine ‘men’s grooming’
Sure, you’re thinking, these guys have manicurists on speed-dial because they’re celebrities. Before you give up on painting your own nails, know that you can do this on your own. We’re here to walk you through the whole process, so you can give yourself the coolest claws in under 10-minutes or less. The best part: You don’t have to break the bank. (Just don’t break your nails!).
Tools you’ll need:
Remember, you’re aiming to give yourself the best paint job ever with minimal effort so we can leave the soaking to the professionals. Nonetheless, you will need a few basic products to achieve a manicure to write home about and tools that will go the distance. How to paint your nails as a guy? Here are the tools you need, first!
- Clippers
- File
- Buffer
- Cotton pads
- Nail polish remover
- Nail polish
- Clear top coat
1. Shape up, baby
Too many guys make the mistake of cutting — not trimming — their nails, setting you up for a manicure that shortens your fingers, instead of elongating. If they’re particularly long, take your clippers and snip on both sides then the top, so your nail resembles the top of a hexagon. This will save you from “lumberjack nails” (i.e. stumpy).
BUY HERE amazon.com, $9
2. Get filin’ and stay buff
The best manicure will be the product of preserving your nails. If you don’t need to heavy-duty-file (often the case with acrylic nails, which aren’t particularly common among men), smooth strokes in one direction not only lowering the chance of future breakage.
This technique will stop you from over-filing, and since you’re doing it yourself, there also need be no performative back-and-forth. Then take your buffer and run it over the nails to create the ideal surface — this is crucial to create the best base for a colored manicure. Wash your hands to free yourself of dust from filing, run a remover-soaked cotton wool pad over each nail — this rids your nail of any unwanted substance so it’s ready to apply polish. $25 dollar manicure whomst? You did this all by yourself in a matter of minutes.
BUY HERE amazon.com, $12
3. It’s painting time
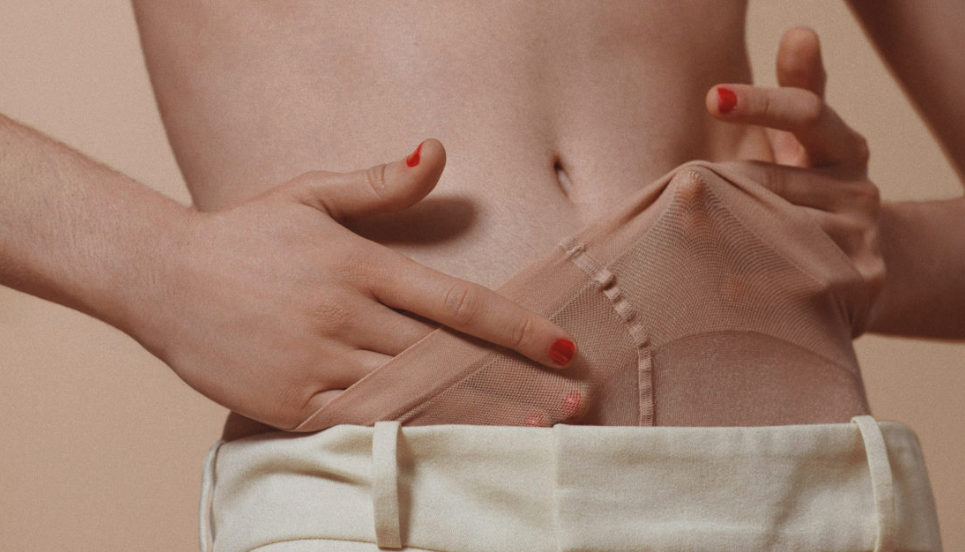
If you’re really committing to the ultimate manicure, you can start with a base coat so it lasts longer (chipped polish can be a pretty enviable look) or you can skip this step (remember, we only have a few minutes after all). Next, we’re moving on to painting.
Wipe the brush against the bottle’s rim to ensure you have just enough product and start a fraction up from the base of the nail — too close to the nail bed gives the illusion of short fingers. Wiggle the brush slightly as you touch it to the nail to deposit the product, then swipe upward.
Repeat until the nail is sufficiently covered, allow one minute for it to settle — if you have a fan or hair dryer, you can set your nails six inches away for a speedier dry — then start a second coat. More than three coats will cause the paint to bubble, so we’d advise no more than two. When you feel as though it’s relatively dry, you can open up your clear topcoat and do a light few swipes on each nail. Allow five minutes to ensure they’re fully dry and voilà! Colored nails.
BUY HERE amazon.com, $9
4. Make it pop
If you’re really leaning in to and want to imitate the nails of some of your faves (without the steady hand of a trained manicurist), there are options. From full-coverage to small designs, stickers are your best bet to see you serve rockstar energy.
After your basic initial manicure, select the sticker that best fits the nail (you’re looking for width, not length here) so that it can nestle right into the nail bed for the best result. Make sure to use them as soon as you open the package as air will dry them out. Peel the polish strip from the backing with the designated tab, place the strip on the nail and smooth it so the manicure is wrinkle-free — remember duraseal-ing your school books? This is exactly that on a smaller scale.
You’re then going to pull out that file and file away any excess (this is just for full-coverage nail wraps, if you’re popping on a smaller sticker you’re home free by now). Keep in mind, this might require an extra few minutes, but trust us, your nails will be more than worth it.
BUY HERE amazon.com– $7
