Your next DIY project during quarantine: Bath Bombs
While self-isolating, I decided to bring the outside in.
As I learned my 14th TikTok routine and put together my 8th 1000 piece puzzle, I decided to mix it up. I put on my Pinterest hat and researched DIY projects to distract my mind.
SEE ALSO: Let’s talk about sex (in self-isolation)
Amazingly, I found a recipe for DIY bath bombs. As we all adjust to major lifestyle changes in order to not overwhelm health officials during the rapid spread of coronavirus, we are seeing more and more DIY projects on social media.

I decided to make bath bombs because as times are stressful with coronavirus abruptly changing my daily routine to online classes, and losing my job I needed to cope with the stress in a healthy way.
Yes, bath bombs. Bath bombs are hand-packed circular spheres that can fit into the palm of your hand. They are usually created using essential oils and soaps and ingredients that react to water that upgrade your bath from dull to glamorous.
The best part: I didn’t have to leave my dorm room to find any ingredient. Most were already in my kitchen hiding somewhere.
Making your own bath bombs may sound intimidating, but I took on the challenge. Let’s just say I didn’t end up in a powdery mess like I thought I would.
While cooped up in the house, creating the bath bombs made for more than just a project to watch disintegrate in my tub. Actually doing something creative with my hands helped create a healthy escape from all the coronavirus news and counting what day of self-isolating I am in.
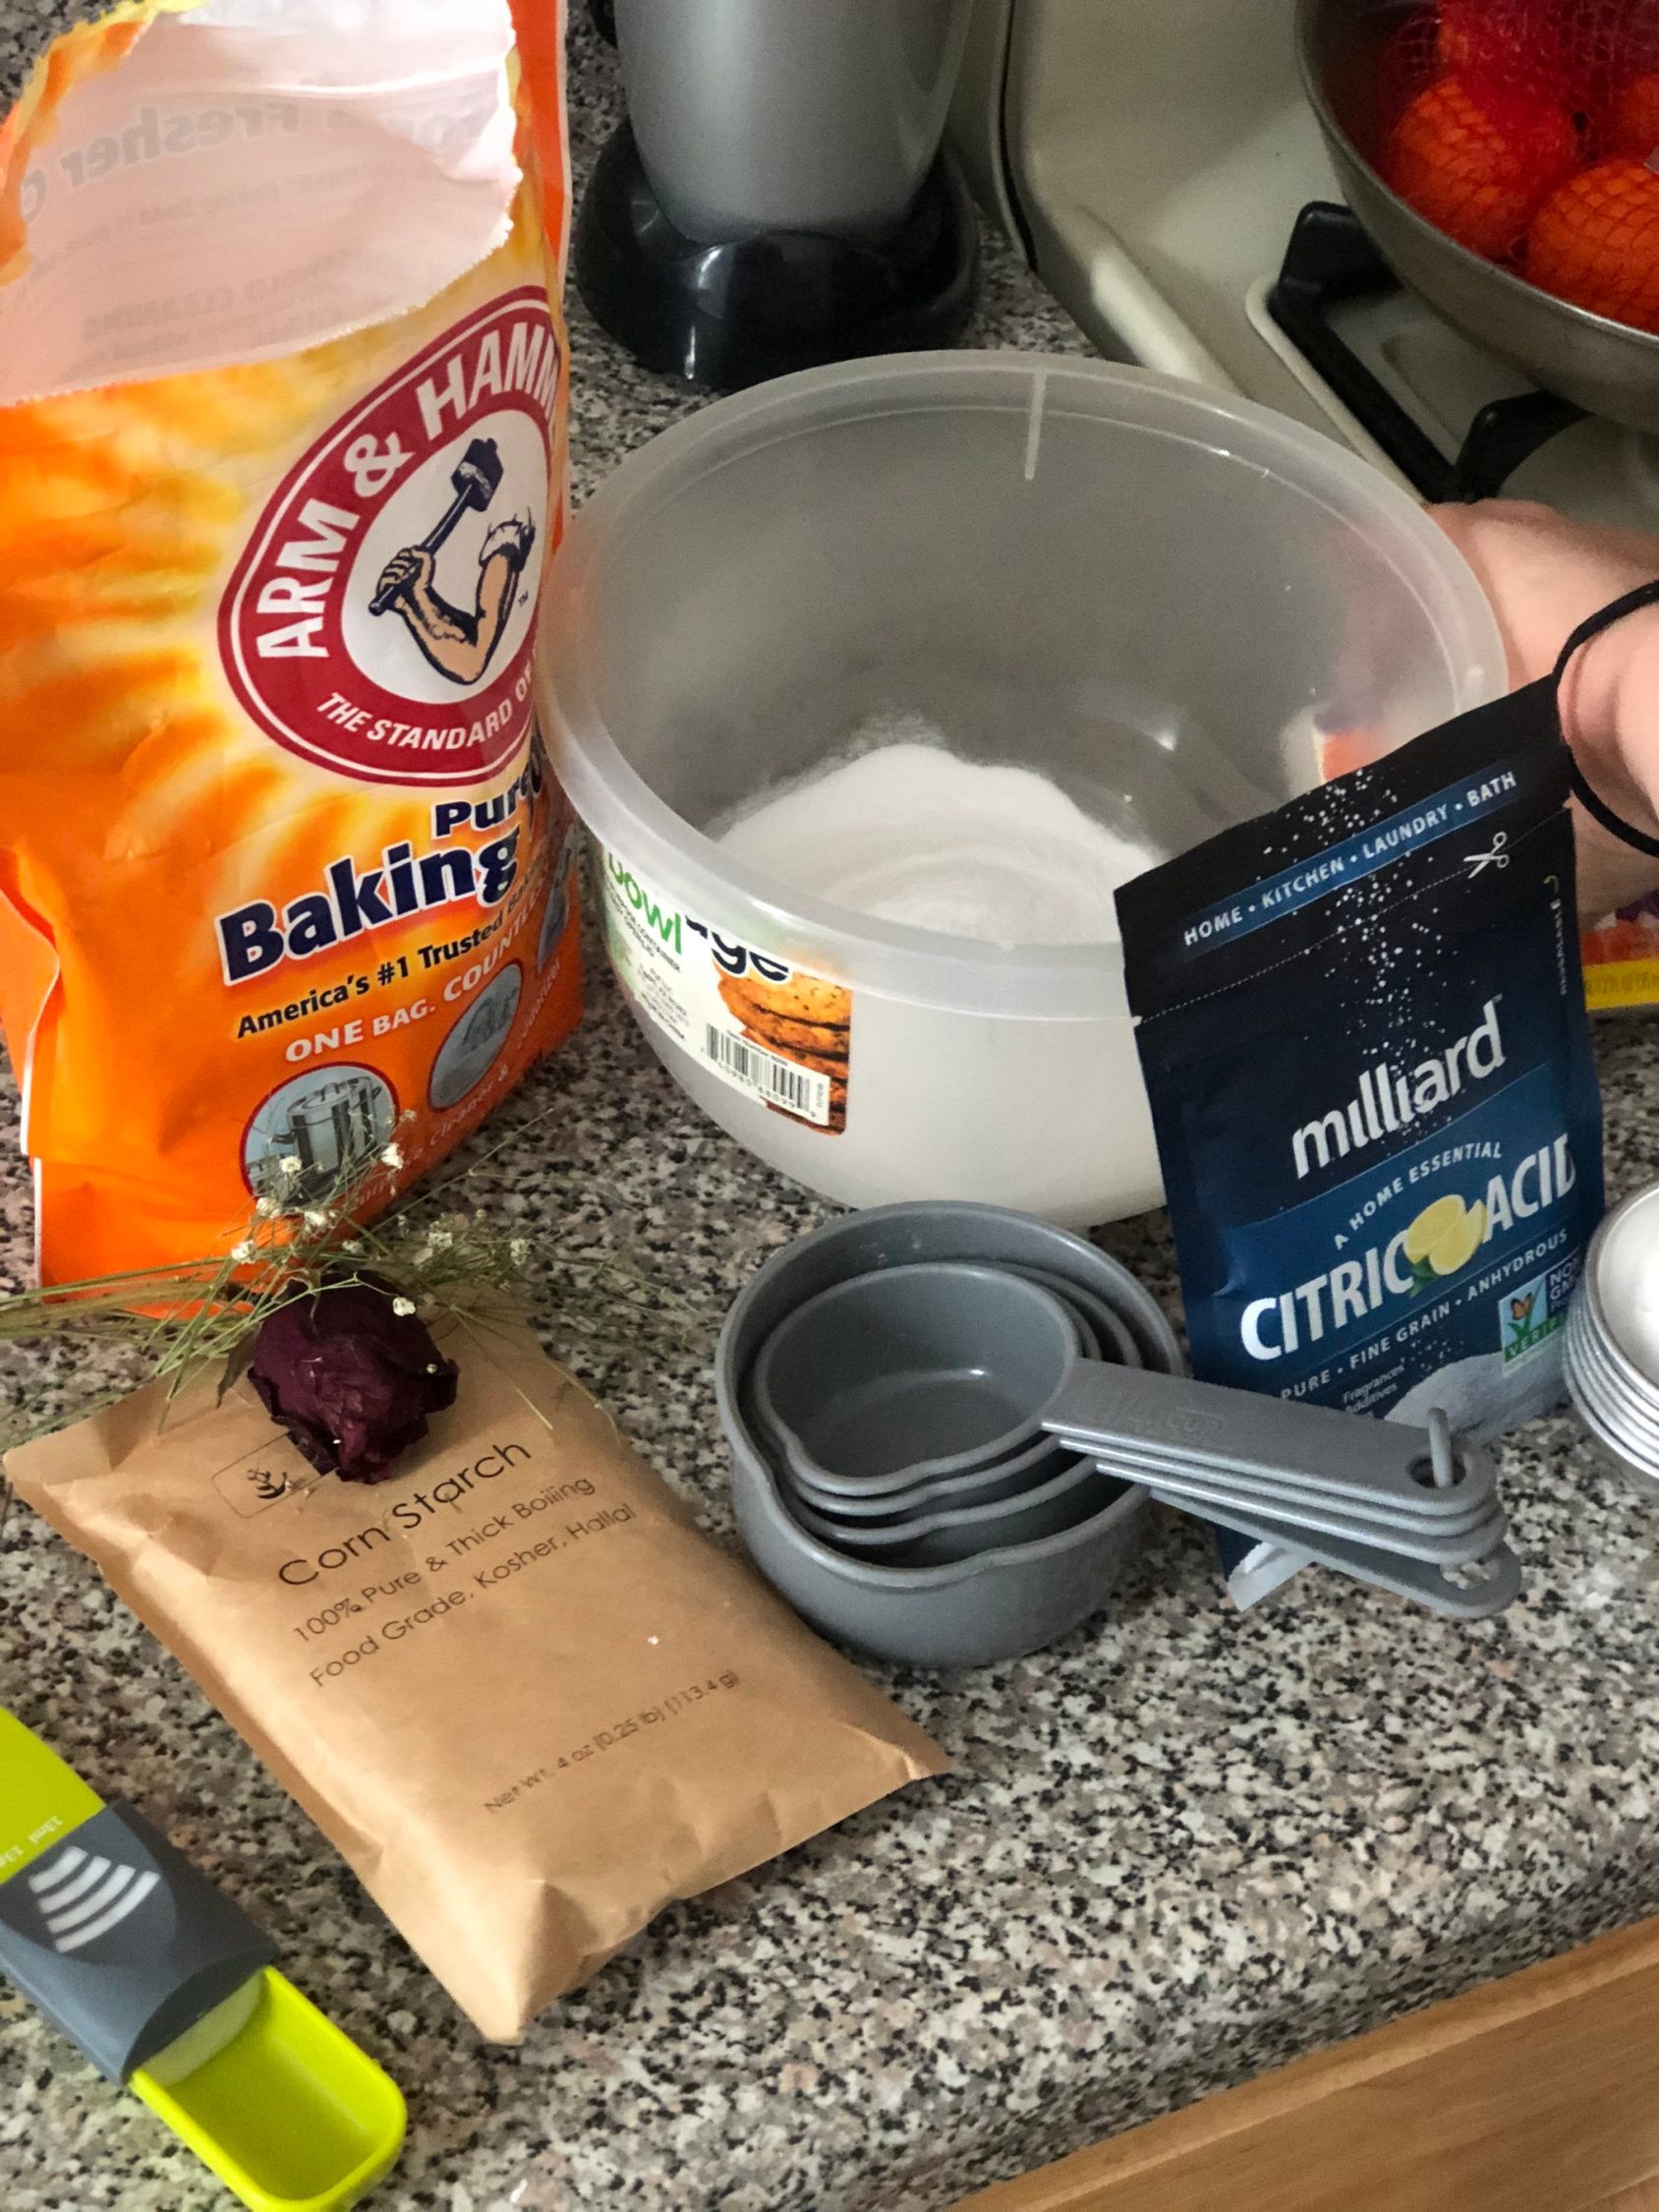
What you need
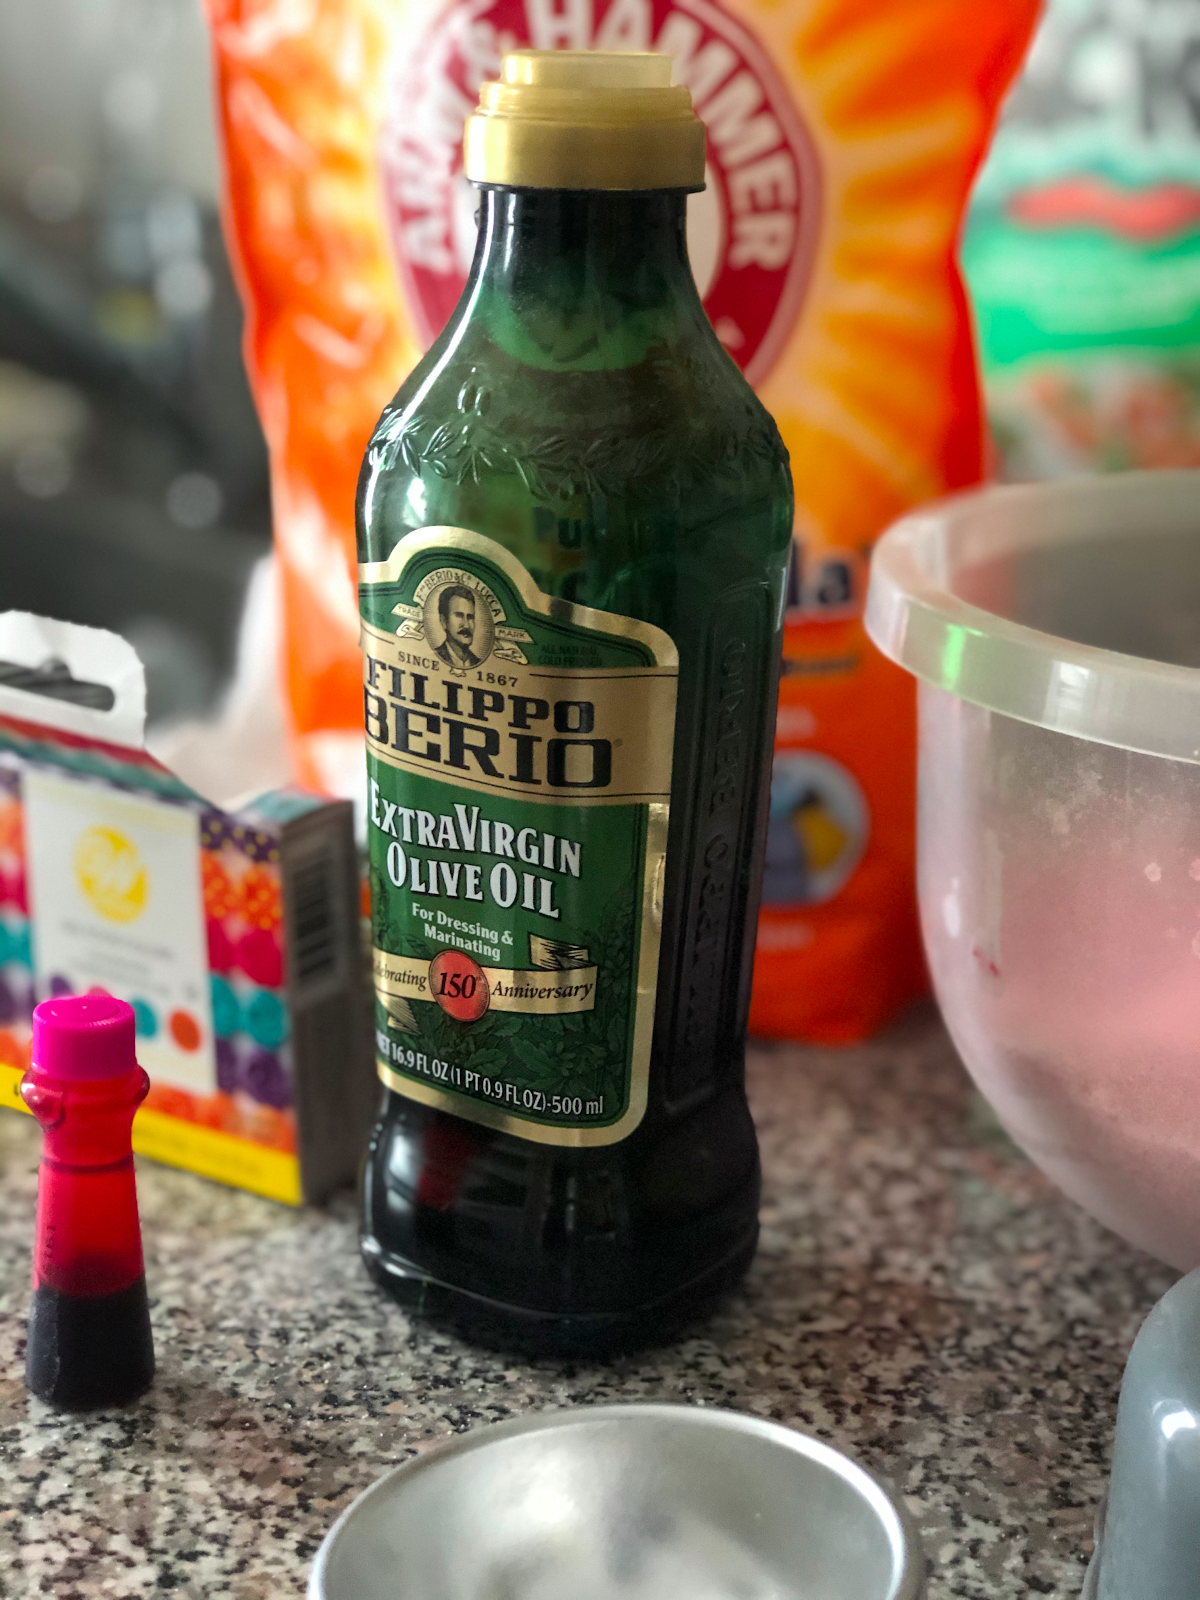
For reference, I followed Beauty Crafter’s recipe for their Rose Bath Bombs but tweaked it just a bit. The ingredients I used were as follows: 1 cup baking soda, 1/2 cup citric acid, ⅓ cup cornstarch, 4-8 drops of gel food coloring (the more drops the more vibrant the bath bombs), a cap full of Olive Oil and 2 tsp of water.
As I added water to the ingredients the familiar fizz of bath bombs began to happen in the bowl. I think I got too into my Billy Nye the Science Guy role because I ended up adding another tablespoon of water to watch the chemicals react.
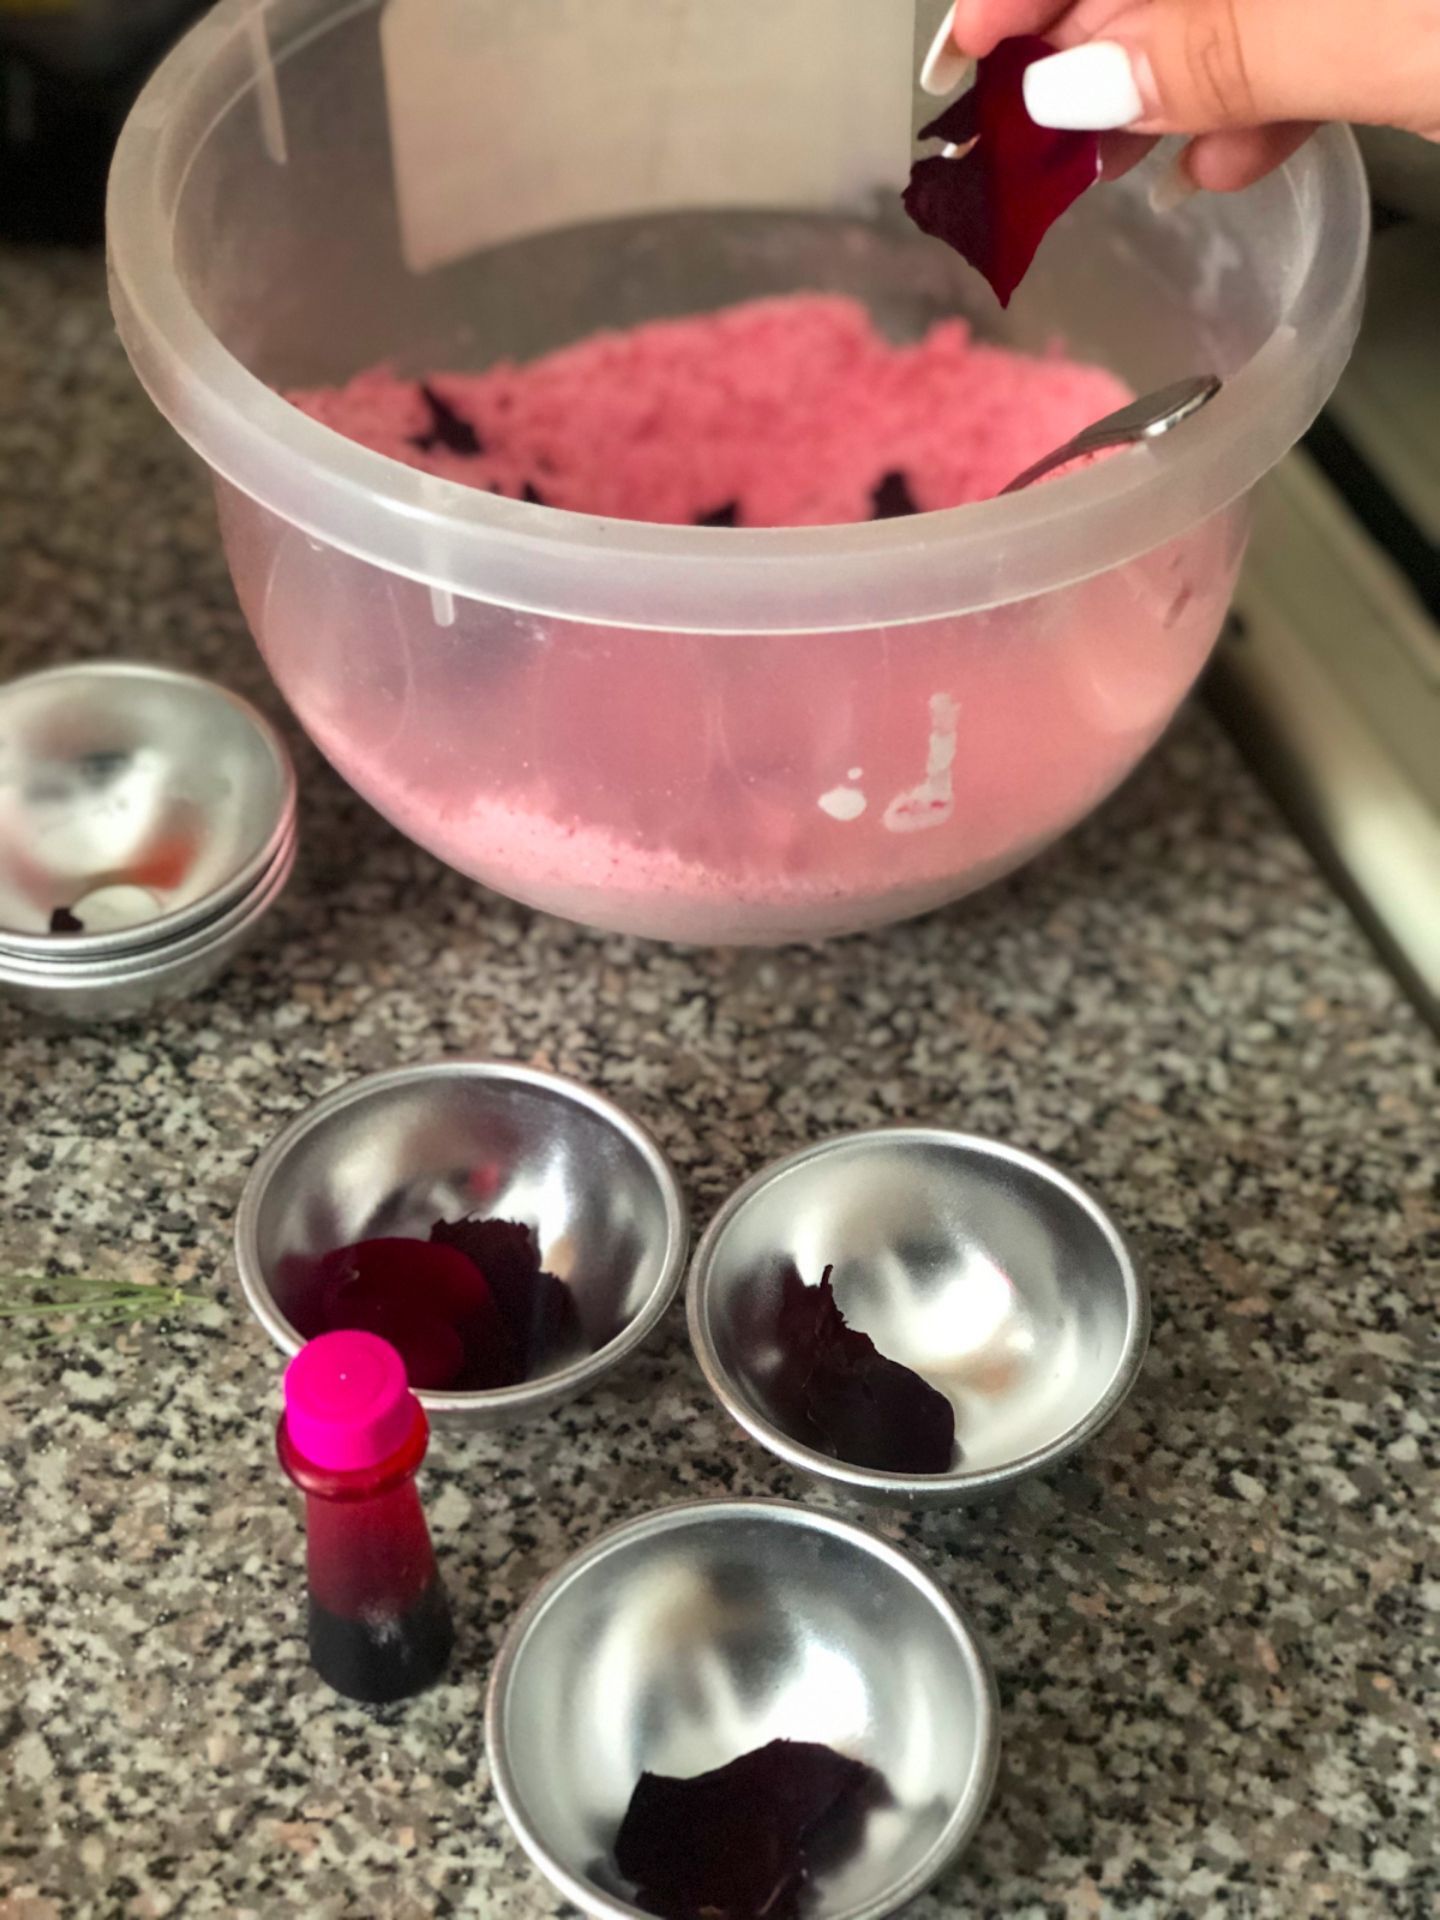
After adding water the second time, I tested the consistency and the ingredients began to stick together a little more than the instructions seemed to describe. Regardless, I scooped the bath bomb ingredients into each mold and pressed them together. Sooner rather than later, they held together so I let them dry overnight and checked on them the next day..
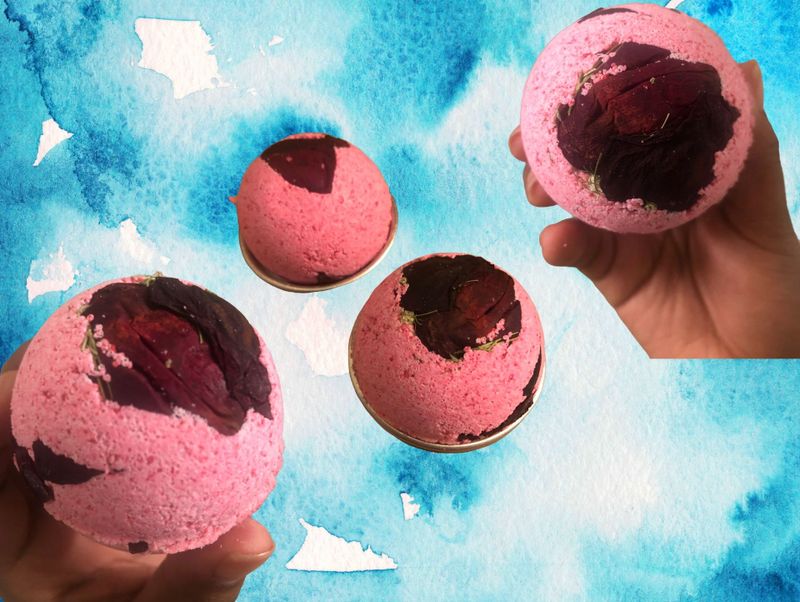
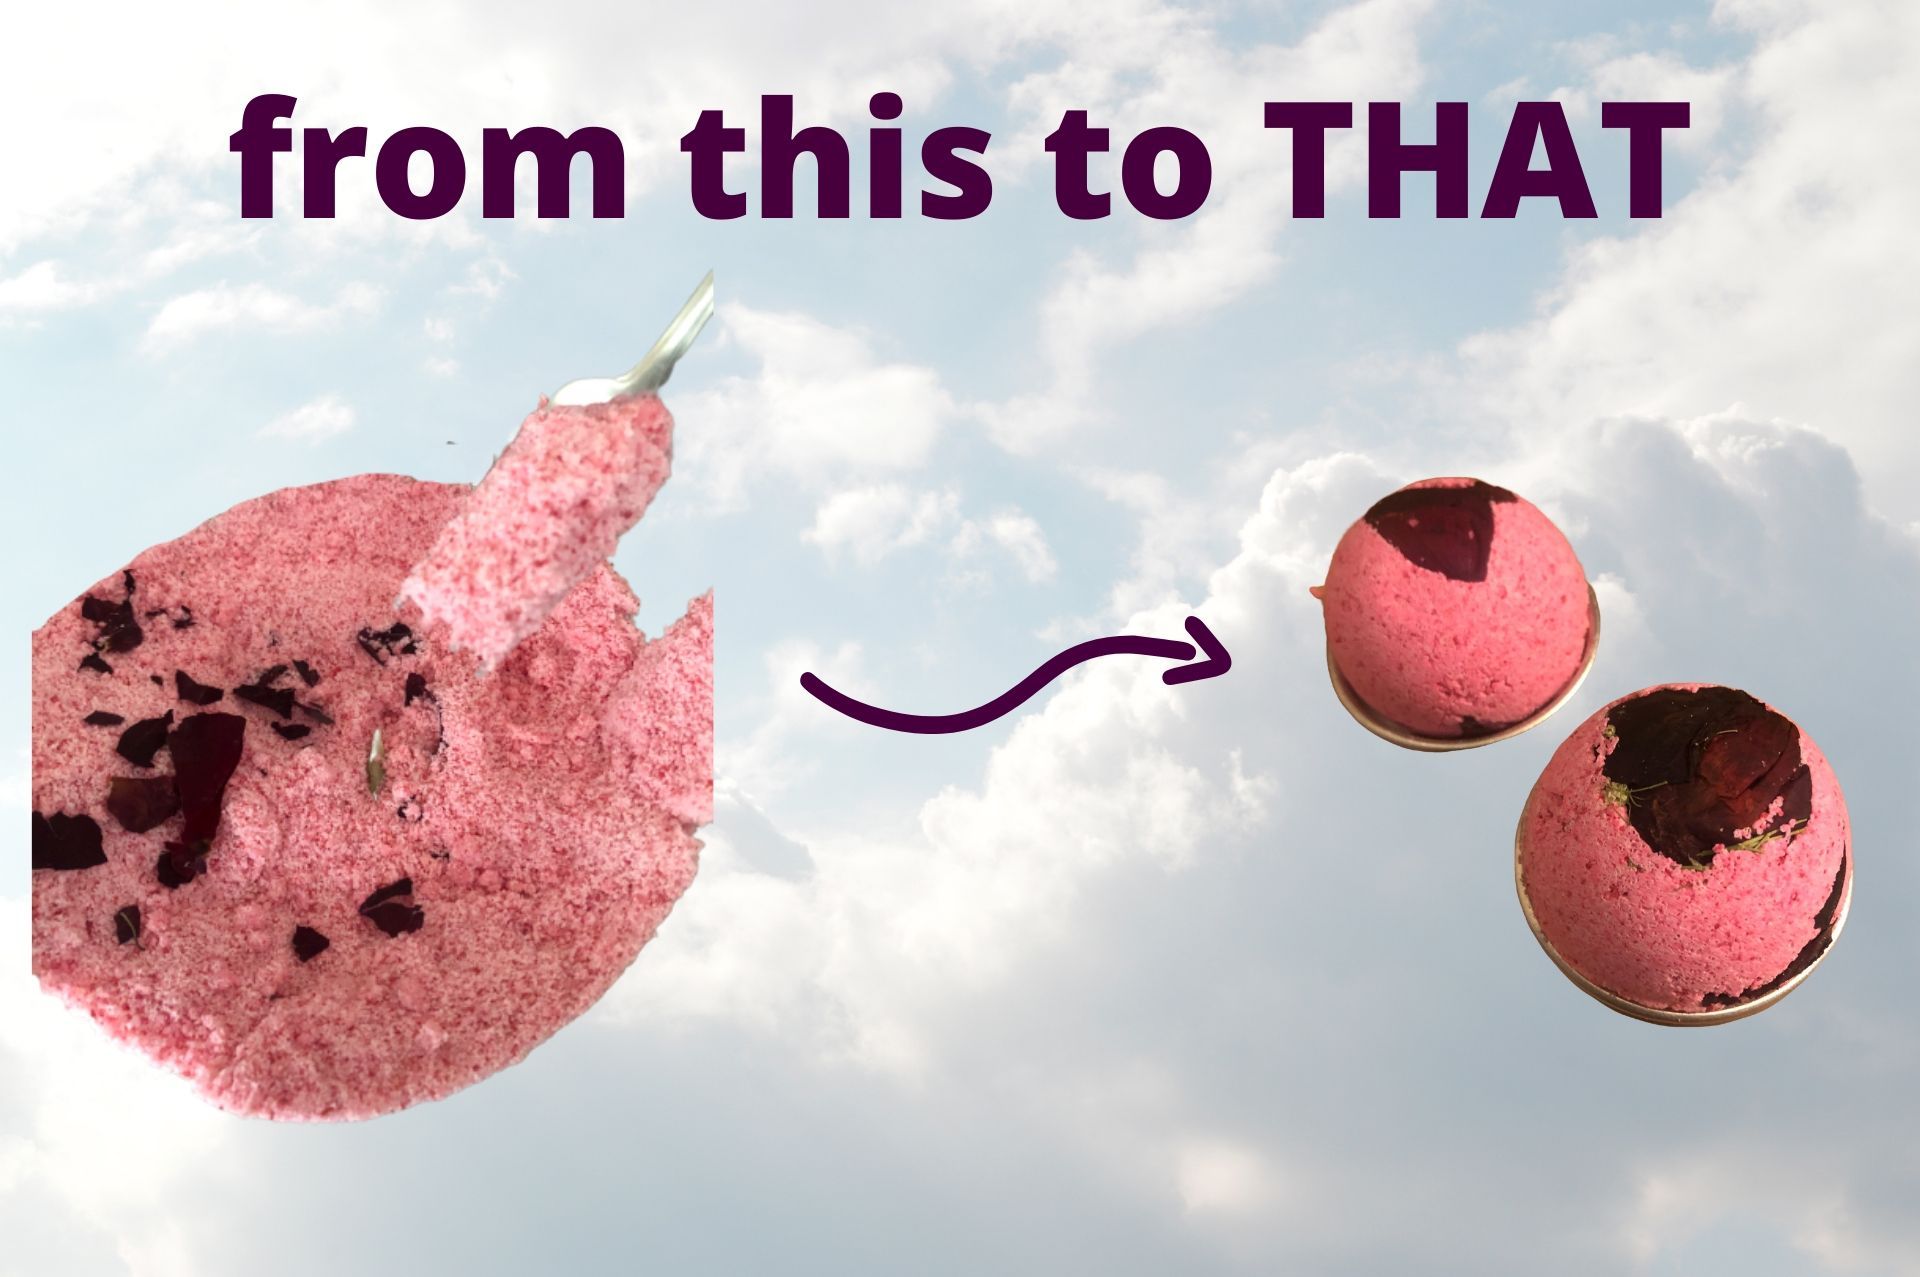
The final results:
Move over LUSH, you’ve got some competition.
They may not be perfect but now I understand why people decide to DIY rather than just buy products off a shelf. DIY projects give the satisfaction of watching your project come to life. You get to witness and be apart of a process.
I’m not going to lie, at first I was intimidated by the idea of creating a bath bomb, thinking of all the majestic bath bombs from Lush I actually found this DIY project to be therapeutic and easy.
As I watch my bath bomb turn my New York City shower floor into a pink party, I never wished that I had a bathtub to soak in more than now.
5 steps to making DIY Bath Bombs:
1
Whisk together the dry ingredients.
2
Add rosehip oil and food coloring for smell and look (optional) Mix the ingredients until the dry ingredients have changed to desired color.
3
Whisk in the water (quickly). Test the consistency by trying to grab a handful, if the ingredients mold like damp sand does in your hand you can move to the next step. If not slightly add more water.
4
Place rose petals into the bottom of each bath bomb mold and then add the mixture on top. You can also add more petals while you fill the mold. Press down softly on each side, then overfill before pressing the two together.
5
Eventually the two sides of the mold will stick together to make a sphere, when they do store in a cool, dry area and let them sit overnight.